How to A/B your mix in Ableton Live
By Conor · 9 November 2026 · 7 min read
A/B-ing in Ableton Live sounds like it should be simple: drop a reference track into the session and compare. Then you find the reference is going through your limiter, Live has warped it to your tempo, and switching between the two takes three clicks and a mouse hunt.
None of that is hard to fix. This guide covers a clean way to set up a reference inside Live, how to switch with one click or one key, and how to compare against something streaming instead of a file.
Quick disclosure: I make a plugin, Stream AB, that switches between your mix and whatever is playing on your computer, and it's tested in Ableton Live on macOS and Windows. I'll mention it where it fits, but the first method needs nothing but Live.
A note on names: Live 12 renamed the Master track to the Main track. I'll call it the Master track below; it's the same thing.
Method 1: a reference track inside your set
The classic approach. It needs the reference as a file, ideally a WAV you own.
1. Put the reference on its own audio track
Create a new audio track and drag the file onto it, in Arrangement View, lined up with the section of your song you want to compare. Name the track something obvious like REF so you never mistake it for part of the mix.
2. Turn Warp off
Live often warps imported audio to your project's tempo, especially longer files. That stretches the reference and can add artefacts.
Open the clip (double-click it) and switch the Warp button off in Clip View. The reference now plays at its own speed, untouched. It won't line up with your bars, but that doesn't matter: you're comparing sound, not timing.
3. Route it around your Master chain
By default every track feeds the Master, so the reference goes through your limiter, bus compressor and anything else on there, which changes both its level and its sound.
In the track's Audio To chooser (in the In/Out section of the mixer), pick Ext. Out and choose the same output pair your Master goes to, usually 1/2. The reference now goes straight to your monitors, around the Master track entirely. Check its sends are all the way down too, so none of it reaches your reverbs.
4. Switch with solo
The easy way to switch with one click: group all your mix tracks (select them and press Cmd+G on a Mac, Ctrl+G on Windows), so you're left with two things in the set, the mix group and the REF track.
Now solo the group to hear your mix, and solo REF to hear the reference. With Live's Exclusive Solo option on (it is by default), soloing one un-solos the other, so each switch is one click. If both stay soloed, Exclusive Solo has been switched off in Live's preferences. (Cmd/Ctrl-clicking a solo button also solos several tracks at once, handy elsewhere but not here.)
With Live's default settings, return tracks keep playing while a track is soloed, which is what you want for the mix. The reference has no sends, so it stays dry.
5. Map it to keys
Clicking solo buttons is fine; not looking at the screen is better. Press Cmd+K (Ctrl+K on Windows) to enter Key Map mode, click the group's Solo button and press a key, then click REF's Solo button and press another. Press Cmd/Ctrl+K again to leave. You can do the same with a MIDI controller in MIDI Map mode (Cmd/Ctrl+M).
Level-match before you listen
Whichever method you use, this is the step that decides whether the comparison means anything. A reference that's even a dB louder will sound fuller and brighter just because it's louder, and you'll start "fixing" things that aren't broken. The level-matching guide covers why in detail; the Ableton version is short:
- Turn the reference down with its track fader. It's outside your Master chain, so this changes nothing about your mix.
- If your mix is the louder one, don't pull your Master fader down to compensate: put a Utility device last on the Master track and lower its Gain. That turns the mix down after all your processing, so your limiter still sees the same signal.
- Get close with a LUFS meter, then finish by ear. Put one on the REF track and one at the very end of the Master, after Utility, so both read what you're hearing. Compare short-term readings on matching sections, chorus against chorus.
One thing that catches people out: anything you leave on the Master track ends up in your export. If Utility is still turning your mix down 6 dB when you export, the file is 6 dB quieter. Switch it off or set it back to 0 dB before you export.
Method 2: compare against a streaming app
Method 1 assumes you have the reference as a file. Most of the time you don't: it's on Spotify, Apple Music or YouTube. You can get that audio into Live with a virtual audio device (BlackHole or Loopback on a Mac, VB-Cable on Windows), recording or monitoring it on a track. The Spotify referencing guide walks through that setup.
It works, but it's fiddly: aggregate devices on macOS, sample-rate mismatches, and remembering to undo it all afterwards.
Method 3: Stream AB on the Master track
This is what I built Stream AB for. It lives on your Master track and switches between your mix and whatever is already playing on your computer: Spotify, Apple Music, TIDAL or a browser tab. Nothing is routed through Live and the reference never touches your Master chain, so steps 1 to 3 above disappear.
Setting it up in Live:
- Install it, then find Stream AB in Live's browser under Plug-Ins. On a Mac it comes as AU and VST3 (which ones Live lists depends on the plug-in formats you've switched on in its settings); on Windows it's VST3. Either works.
- Drag it onto the Master track, at the end of the chain, so the gain trim comes after all your processing (the same reason Utility goes last).
- Cue up a reference in your streaming app, then press play in Live.
- Click B: your mix mutes and the reference plays. Click A: the reference pauses and your mix is back.
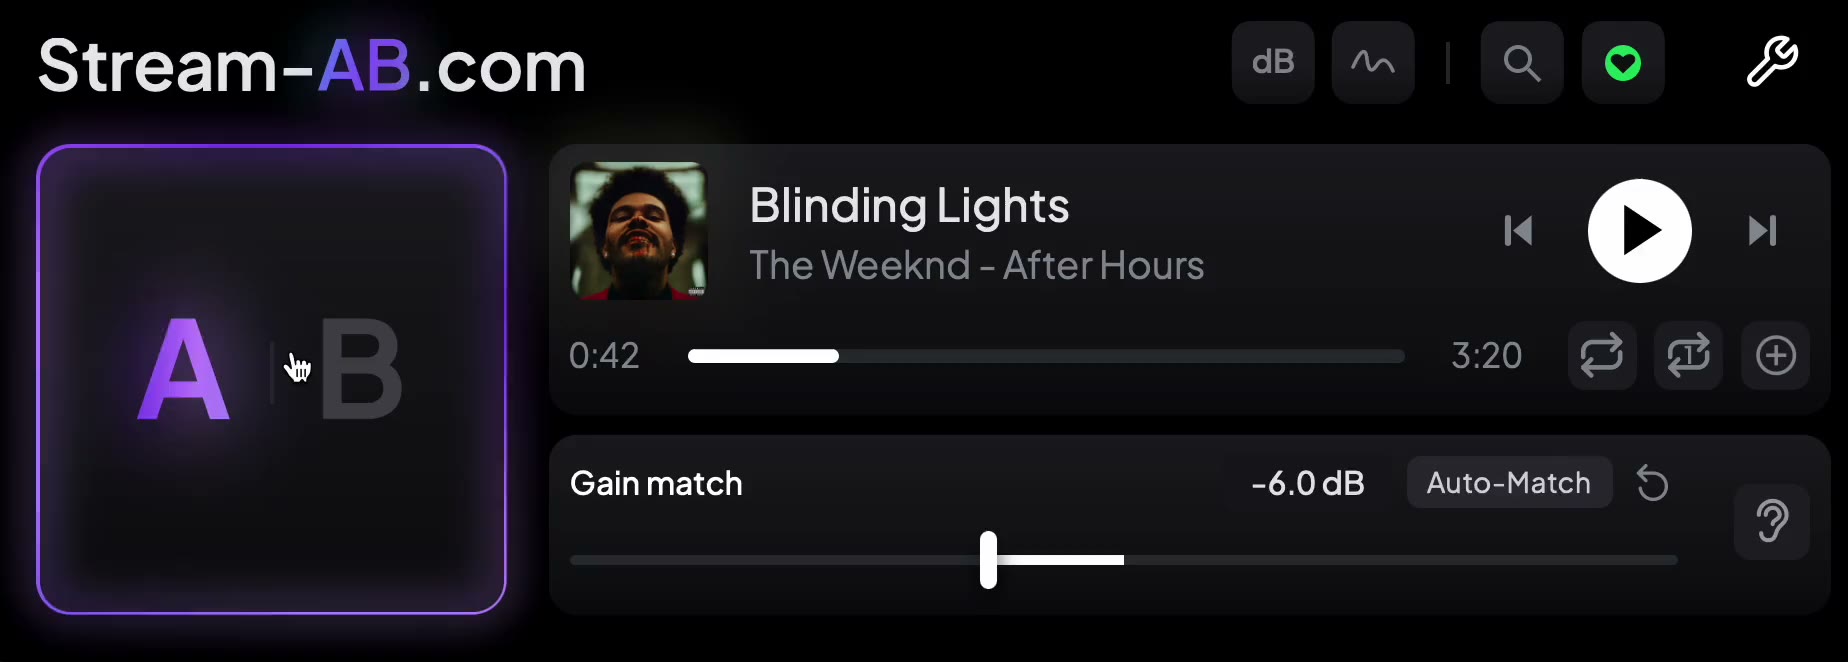 The A/B switch on A, with a reference loaded and the gain trim at -6.0 dB.
The free version does the switching, play and pause, and a manual gain trim: drag the slider, or type a value, until the two sound equally loud. The trim only ever moves your mix, never the reference.
A/B is a real plugin parameter, so the key-mapping trick from step 5 works here too. In Live, plugin parameters you want to map usually need to be showing in the device first; if A/B isn't there, press the device's Configure button and click the A/B switch in the plugin window to add it. Then map it with Key Map or MIDI Map mode as before. It keeps working with the plugin window closed.
The full version adds Auto gain match, loudness and tonal balance readings for both sides, search across Spotify, Apple Music, YouTube and TIDAL, section looping and a streaming codec preview. How it works has the details.
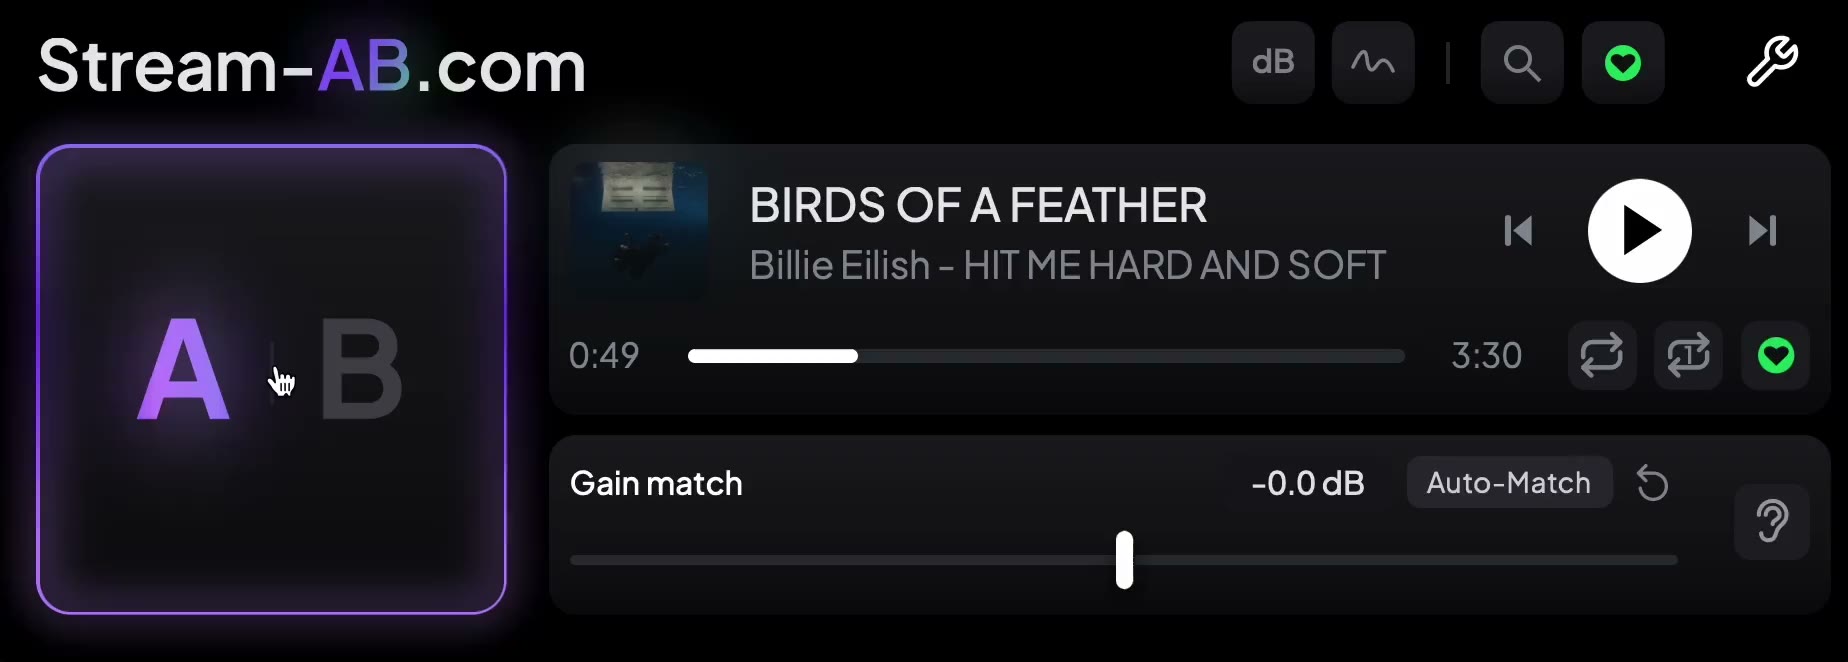 The A/B switch, a reference loaded, the gain match slider at 0.0 dB and the Auto-Match button.
Two Live-specific notes
- On a Mac, the full version will ask for permissions. macOS asks whether an app may control Spotify, and again for Music, and with Ableton Live the prompt appears in Live's own name rather than Stream AB's. Allow both: that's what shows the track name, artwork and scrub bar. The support page shows every prompt.
- Before you export, check the gain trim. It's applied to your mix, so a -6 dB trim left in place means a 6 dB quieter export. In the full version, also turn off codec preview, which encodes your mix while it's on. Bypassing the plugin when you bounce covers both.
Listening, once it's set up
With levels matched, switch in short bursts and listen for one thing at a time: low end, vocal level, brightness, width, punch. Use two or three references; how to choose reference tracks covers which.
A quick checklist
- Reference on its own track with Warp off, or playing in a streaming app
- Reference routed to Ext. Out, around your Master chain
- Mix grouped, so one solo click (or one key) switches
- Louder side turned down: the REF fader, or Utility last on the Master
- Matching sections, short switches, one thing at a time
- Utility, gain trims and codec preview reset before you export
Save the empty REF track, routed to Ext. Out, in your default set, and the setup is waiting in every new project. That's usually the difference between referencing every mix and putting it off until the end.