How to level-match a reference track (and why louder sounds better)
By Conor · 29 October 2026 · 7 min read
If you only take one habit from referencing, make it this one: before you compare your mix with a reference, make them play at the same loudness. Skip it and the comparison isn't just less useful, it actively points you the wrong way.
This guide covers why that happens, the ways to match levels (by ear, with a meter, or both), and the mistakes that make a "matched" pair still play at different loudness.
Quick disclosure: I make a plugin, Stream AB, that switches between your mix and a streamed reference and has a gain trim for exactly this job. I'll mention it where it fits, but the method works with any setup.
Why louder always sounds better
Our ears don't hear all frequencies equally at every volume. At lower levels we're much less sensitive to the low end and the very top. Turn the same track up and the bass and treble seem to grow faster than the mids. This is described by the equal-loudness contours, often called the Fletcher-Munson curves.
So when two versions of the same music play at slightly different levels, the louder one sounds fuller, brighter, closer and more exciting. Not because it's better, but because it's louder. The difference doesn't need to be big. A dB or so is enough to tip your preference, and it's often too small to register as "that one's louder". You just hear "that one's better".
Now put that into a mixing session. The reference is a finished master, usually louder than your mix. You switch to it, it sounds bigger and clearer, and you go back to your mix and start adding low end, adding air, compressing harder, chasing something that was mostly volume. An hour later the mix is heavier, harsher and more squashed, and it still doesn't sound like the reference.
Level-matching takes volume out of the comparison, so whatever difference is left is a real difference in balance or tone.
What "the same level" actually means
Matching levels means matching perceived loudness, not peaks.
A modern master and an unmastered mix can peak at almost the same level and differ in loudness by several dB, because the master has been limited and its average level pushed up towards the peaks. Lining up the peak meters does nothing useful.
What you want is a measurement that tracks how loud something sounds. That's what LUFS is for: it's an average level, weighted to roughly match how we hear, and it's the measure streaming services use for normalisation. Older RMS meters get you somewhere close, but they don't account for how much more sensitive we are to some frequencies than others, so a bass-heavy track and a bright one can read the same and sound different.
LUFS meters usually show a few readings:
- Momentary: a very short window (400 ms). Jumps around too much to match with.
- Short-term: a 3-second window. The most useful one for matching a section.
- Integrated: the average over everything measured since you pressed reset. Good for a whole song, less good when you only care about the chorus.
How to level-match, step by step
1. Pick matching sections
Compare like with like: your chorus against the reference's chorus, your verse against its verse. A chorus is usually several dB louder than an intro, so matching your intro against their drop will throw everything off.
If you can, loop the section on both sides, so you're always hearing the same few bars.
2. Get the reference outside your master chain
If the reference passes through your master bus, your limiter and any processing there act on it too, so its level and sound both change. Put it on a track routed straight to your outputs, or use a tool that plays it outside your DAW altogether. The Spotify referencing guide covers the ways to set this up.
3. Turn the louder one down
This is the step that matters most and the one people get backwards. Turn down whichever side is louder, which is almost always the reference. Don't push your mix up to meet it: that drives your master into clipping or into a limiter you weren't using, and changes what you're judging.
If you turn your mix down, do it at the very end of the chain, after everything you want to judge, so your processing still sees the same signal.
4. Get close with a meter
Play the matching section of each and note the short-term LUFS, or reset an integrated reading and let each run for the same section. Adjust until the numbers are within about half a dB.
5. Finish by ear
The meter gets you close; your ears decide the rest. Switch quickly back and forth, a few seconds each side. If one still seems to "jump" when you switch to it, nudge it down a fraction. You're done when switching sounds like a change of character, not a change of volume.
If your mix and the reference have very different tonal balance, the meter and your ears can disagree slightly. Trust your ears for the last little bit, since the point is a fair listening test.
Doing it in Stream AB
Stream AB sits on your master, and its gain trim moves your signal, never the reference. In the free version you drag the slider, or type a value, until the two sound equally loud. Because A/B is a plugin parameter, you can map it to a MIDI controller or keybind and switch without looking at the screen, which helps with the quick switching in step 5.
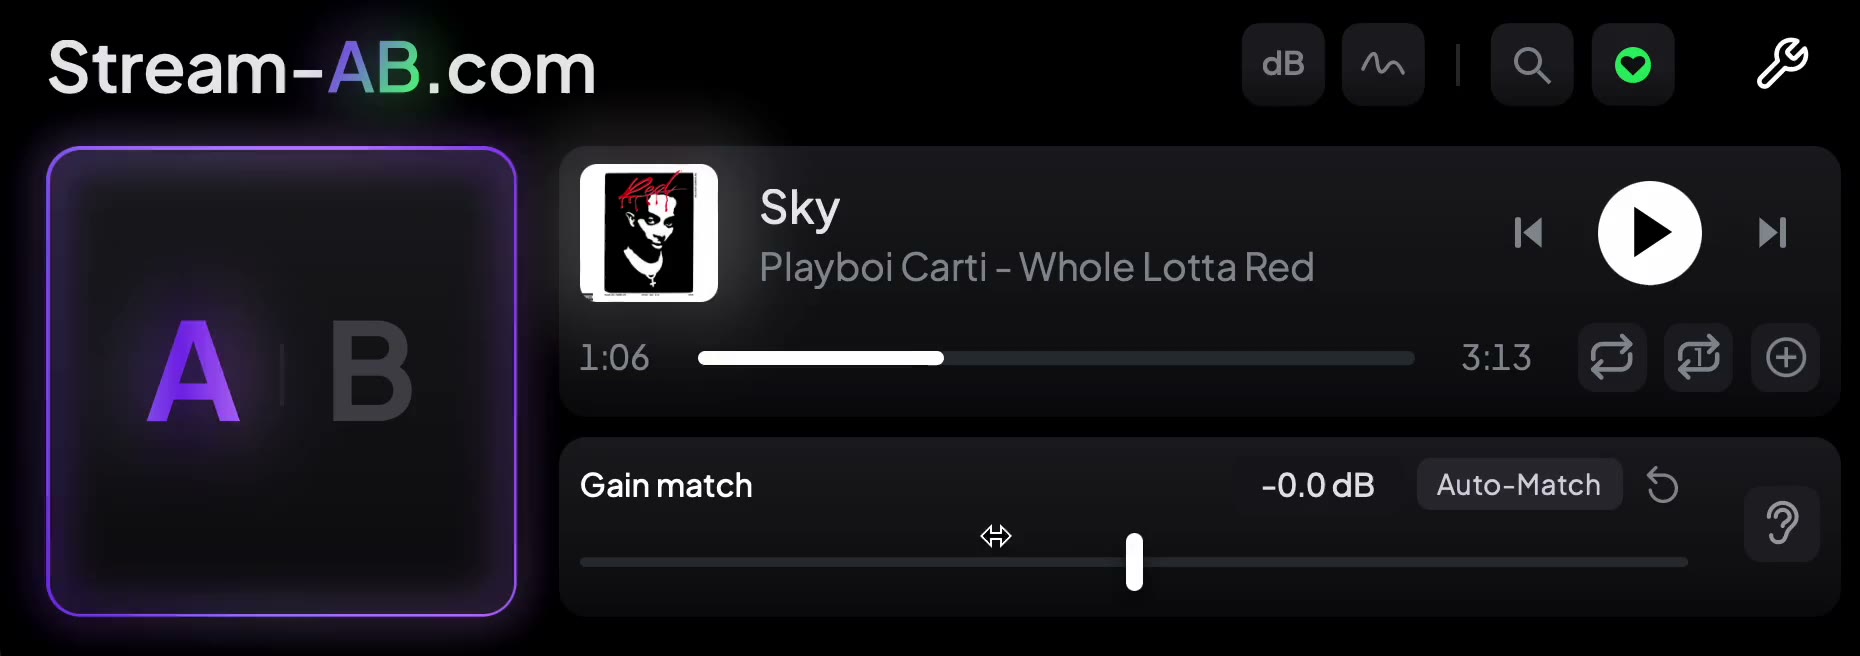 Dragging the gain match slider by hand on A.
The full version adds Auto gain match. One press switches to the reference, listens to both sides, switches back and sets the trim, usually in six to fifteen seconds. It matches what you're actually hearing, so run it over the section you're working on. If the level never settles it says "Approximate", and you trim the rest by ear. The full version also shows loudness readings for both sides, if you want the numbers for step 4. How it works has the detail.
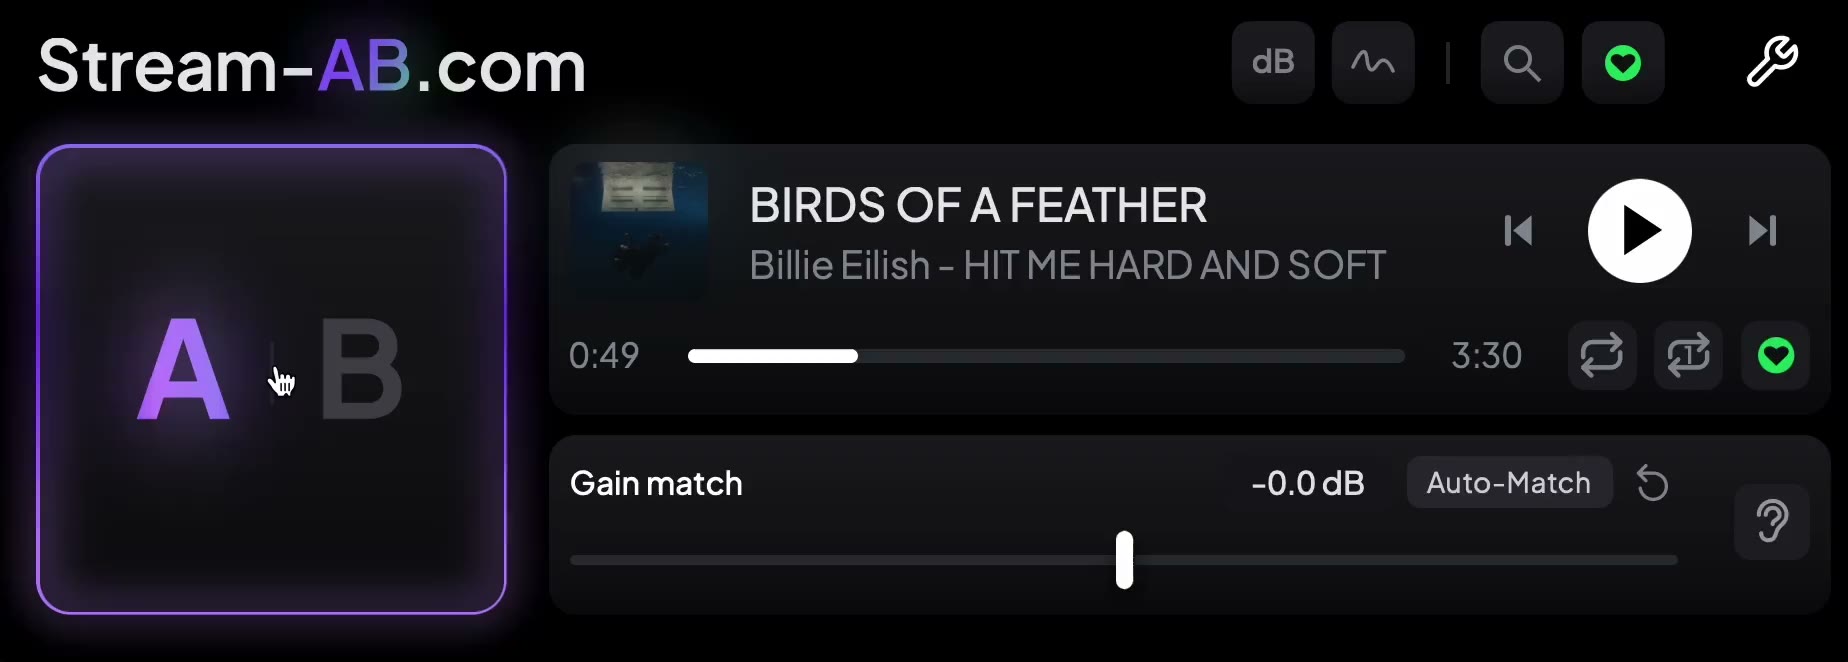 The A/B switch, a reference loaded, the gain match slider at 0.0 dB and the Auto-Match button.
Mistakes that undo the match
Changing the streaming app's volume
If you match levels and then nudge Spotify's volume slider, or your system volume while the reference plays, the match is gone. Set those once and leave them, and do all your matching with one control.
Forgetting about normalisation
With loudness normalisation on, a streaming service plays a loud master quieter than it was mastered. That's fine for referencing, since you're matching what you hear, but switch normalisation on or off halfway through and your match is out by several dB. Pick one and keep it for the session. There's more on that in why your mix sounds different on Spotify.
Matching once and never again
Every time you change something big, the match drifts: a new limiter setting, more bus compression, a louder vocal. Re-check the match whenever you've moved the overall level, and every time you change to a different reference or section.
Matching whole songs instead of sections
A song's integrated loudness includes quiet intros and breakdowns. Two songs can have the same integrated reading and very different chorus loudness. Match the part you're actually comparing.
Expecting a mix to sound as dense as a master
At the same loudness, an unmastered mix will often still sound less dense and less "finished" than a released track. That's what mastering adds. Use the matched comparison to judge balance and tone, and don't treat that density gap as a reason to limit your mix harder.
Listening once they're matched
With volume out of the way, switch in short bursts and listen for one thing at a time: the low end, the vocal level, the brightness, the width, the punch. Differences you hear now are real ones. And if your mix suddenly sounds fine next to the reference, that's a real result too: a lot of "my mix sounds worse" turns out to have been "my mix was quieter".
A quick checklist
- Same section on both sides, looped if possible
- Reference playing outside your master chain
- The louder side turned down, never the quieter one pushed up
- Short-term LUFS within about half a dB, then finished by ear
- Streaming app volume and normalisation left alone all session
- Re-matched after any big level change, new section or new reference
It takes a minute each time. That minute is what makes everything you hear afterwards worth acting on.